The Short Answer: A professional roofing project follows seven distinct phases: initial inspection, detailed estimate, material selection, pre-installation prep, installation, quality inspection, and thorough cleanup. The entire process typically takes 1-3 days for residential roofs. Any contractor who can’t clearly explain each step—or skips critical phases—is cutting corners that will cost you later.
Step 1: Initial Inspection and Assessment (1-2 Hours)
What Should Happen:
- Thorough roof examination from ground and rooftop
- Attic inspection for ventilation and water damage
- Documentation with photos and measurements
- Assessment of decking condition
- Discussion of visible problems and timeline
Red Flag: Inspector spends less than 30 minutes or never climbs on the roof—impossible to provide accurate assessment without thorough examination.
Step 2: Detailed Proposal and Planning (24-48 Hours Later)
What You Should Receive:
- Written estimate with itemized costs
- Specific material recommendations
- Timeline projection with start/completion dates
- Warranty details (workmanship and manufacturer)
- Clear scope of work including permits
Must-Have Details:
- Number of shingle layers to be removed
- How decking repairs are calculated
- Cleanup and disposal procedures
- Payment schedule tied to milestones
Red Flag: Vague estimates without itemization, or pressure to sign immediately without time to compare.
Step 3: Material Selection and Ordering (1-3 Days)
Your Involvement:
- Choose shingle color and style
- Review upgrade options
- Approve underlayment specifications
What the Contractor Does:
- Order exact quantities based on measurements
- Schedule delivery 1-2 days before start
- Secure building permits from local jurisdiction
- Confirm crew availability
Red Flag: No permit mentioned, materials arrive day-of, or contractor pushes cheapest options without explanation.
Step 4: Pre-Installation Preparation (Morning of Day 1)
What Happens:
- Material delivery and staging
- Dumpster placement for debris
- Property protection setup (tarps, plywood for landscaping)
- Introduction to crew supervisor
- Final walkthrough of work plan
Homeowner Preparation:
- Clear driveway for equipment access
- Move vehicles to street
- Remove wall decorations (vibrations cause items to fall)
- Cover attic belongings
- Notify neighbors
Red Flag: No property protection measures or crew arrives without materials ready.
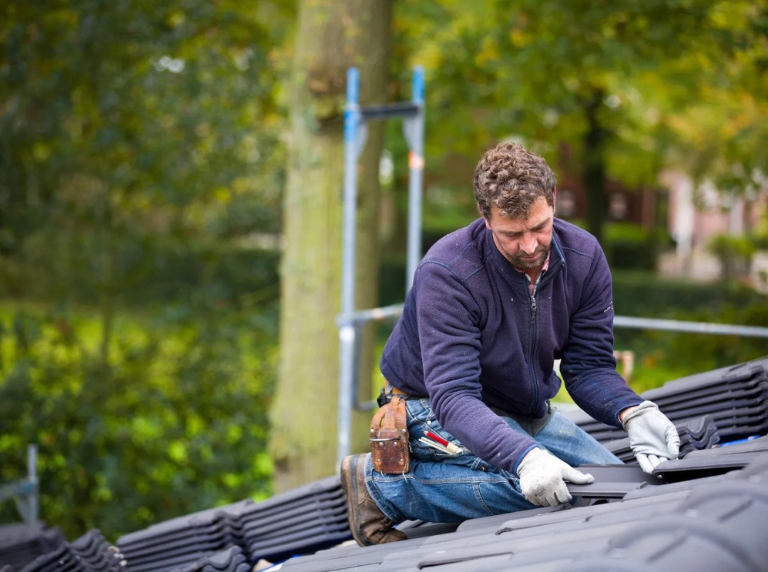
Step 5: Tear-Off and Installation (1-3 Days)
Day 1 – Tear-Off:
- Complete removal of old shingles
- Inspection and replacement of damaged decking
- Installation of ice/water shield and underlayment
Day 2 – Shingle Installation:
- Systematic installation from bottom to top
- Proper valley and flashing integration
- Correct nailing patterns for wind resistance
- Ventilation installation
Day 3 – Finishing:
- Ridge cap installation
- Pipe boot and vent flashing
- Final alignment checks
What You Should See:
- Organized work site with safety equipment
- Project manager checking progress
- Systematic progression across roof
Red Flag: Unsupervised crew, skipped underlayment, reused old flashing, or exposed decking left overnight.
Step 6: Final Quality Inspection (End of Last Day)
Professional Contractor Checklist:
- Supervisor walks entire roof checking installation
- Verification of proper nail placement
- Flashing inspection around all penetrations
- Gutter cleaning and downspout check
- Walkthrough with homeowner
Your Involvement:
- Contractor shows you completed work
- Explains warranty coverage and maintenance
- Addresses concerns immediately
- Provides warranty documentation
Red Flag: Crew leaves without supervisor inspection or refuses walkthrough after completion.
Step 7: Thorough Cleanup and Final Details (Last 2-3 Hours)
Complete Cleanup Process:
- Magnetic nail sweep of entire property
- Gutter cleaning and debris removal
- Dumpster removal from property
- Landscaping inspection and repair
- Final property walkthrough
Documentation You Receive:
- Final invoice and payment confirmation
- Manufacturer warranty registration
- Workmanship warranty certificate
- Maintenance guide
- Permit closure documentation
Red Flag: Nails left in driveway, debris in gutters, damaged landscaping ignored, or rushed departure.
Timeline Expectations for Dayton Homeowners
Typical Projects:
- Small ranch (1,200 sq ft): 1 day
- Average two-story (2,000 sq ft): 2 days
- Large or complex (3,000+ sq ft): 3 days
Delays Possible From:
- Roof complexity (valleys, dormers, steep pitch)
- Extensive decking repairs
- Weather conditions
Bottom Line: Process Transparency Reveals Quality
Quality Contractor Indicators:
✓ Explains every step before starting
✓ Provides written timeline with daily expectations
✓ Assigns dedicated project manager
✓ Conducts thorough inspections at start and finish
✓ Prioritizes property protection and cleanup
Warning Signs:
✗ Rushes through explanation or skips details
✗ Can’t provide day-by-day breakdown
✗ No dedicated supervisor
✗ Minimal cleanup effort
Next Steps: Set Clear Expectations Upfront
Before signing any contract:
- Request written process outline with daily activities
- Clarify communication protocol during project
- Confirm cleanup specifics in contract
- Get supervisor contact info for daily questions
Questions for your Dayton roofing contractor:
- “Who will be my point of contact during installation?”
- “What happens if you discover additional damage?”
- “How do you protect my landscaping?”
- “What’s included in your final cleanup?”
Remember: Contractors like Rembrandt Roofing with 20+ years serving the Dayton area have refined processes that protect both quality and customer satisfaction. A detailed, transparent process isn’t a luxury—it’s the standard you should demand.